How To Fix Windows 10 Start Button Is Not Working. In this article, you will read methods to fix can’t open Start Menu issue. Many users reported that the Windows start button stopped working out of nowhere. Sometimes, it disappears or doesn’t respond to simple clicks. Here, you will learn the solutions to fix the Windows 10 Start button is not working problem.
How To Fix Windows 10 Start Button Is Not Working Issue?
If your start button is not working, the first you have to do is to restart the PC. It is the quickest and easiest to solve this issue. If it does not, then follow the below methods to fix the Windows start button not working issue.
Method 1 – Check for Windows Updates:
Updated Windows can solve many issues on your system. Any missing update can cause this error. Follow the steps to update the Windows:
1.Press and hold Windows key.
2.Press ‘I’ key.
3.On Windows Settings, click on ‘Update & Security’.

4.You can Check for updates and their status in the new Window.

5.If you see ‘You’re up to date’, then this means that another problem causes the issue.
6.Else, click on ‘Check for updates’ and update the Windows.
7.When the update is completed, the system will ask you to install and restart the PC.
8.Click on ‘Yes’ and wait for a complete update.
Method 2 – Sign Out of Your Account:
Signing out of your account and then logging back after restarting can fix the issue. Follow the steps:
1.Open ‘Task Manager’.
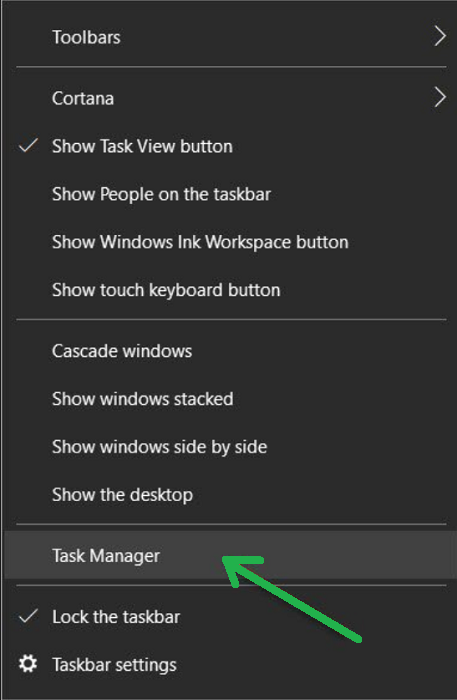
2.Right click on Taskbar.
3.Select ‘Task Manager’.
4.You will see the details for signing out of your account on the ‘Users’ tab.
Method 3 – Restart Windows Explorer:
To solve ‘Start menu is not working in Windows’ problem, restart the Windows Explorer. Follow the steps:
1.Right click on the task bar.
2.Select ‘Task Manager’.

3.On the ‘Processes’ tab, choose Windows Explorer.
4.Right click on it.
5.Select ‘Restart’.

Method 4 – Restore to a Previous Point:
Any corrupted or missing file can also cause this issue. You can restore to a previous point to solve this issue. Follow the steps:
1.Type ‘system restore’ in the search box on the taskbar.
2.Click on ‘Create a System Point’.

3.On ‘System Properties’, click on ‘System Restore’ to create it.
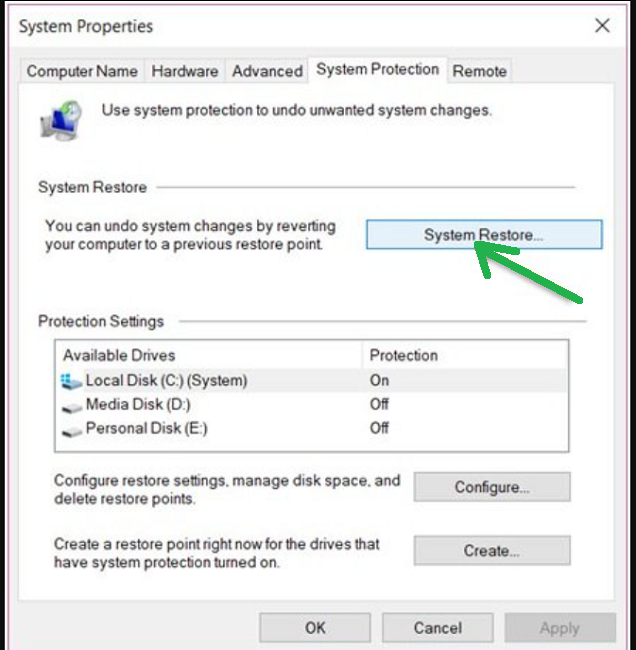
4.A restoring windows will get open.
5.Choose a specific date earlier for restoring Windows.
6.Click on ‘Next’ and then ‘Finish’ to start the process.
7.It will take a few minutes.
8.The PC will reboot to a restored point.
Method 5 – Modify the Registry:
Modifying the registry can also solve this issue. Follow the steps:
1.Press Windows + R keys to open the Run box.
2.Type ‘regedit’ and press Enter.
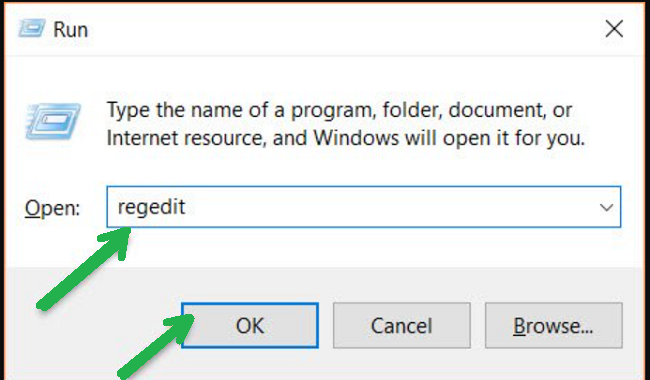
3.This will open the Registry Editor on the main screen.
4.Go to ‘HKEY_LOCAL_MACHINE\SYSTEM\CurrentControlSet\Services

5.Scroll down and find ‘WpnUserService’.
6.Select ‘WpnUserService’.
7.Right click on ‘Start’.
8.Choose ‘Modify’.

9.DWORD window will get open.
10.Change the Value date to 4.
11.Click on ‘OK’ to enable the changes.
12.Reboot your computer and check if the problem is solved.
Method 6 – Use Command Prompt:
The Cortana files can lead to a ‘Windows 10 menu is not working’ problem. You have to recreate them by deleting the temporary files. Follow the steps:
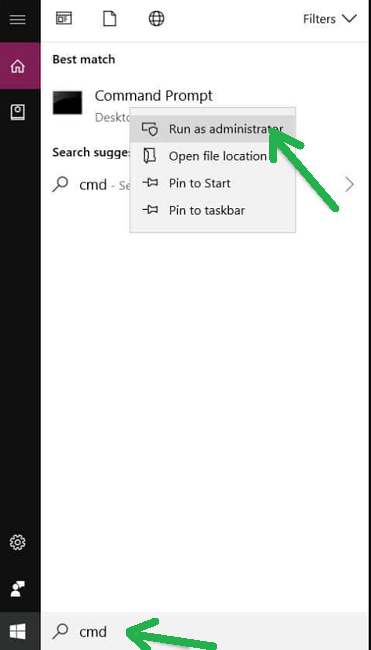
1.Type ‘cmd’ in the search box.
2.Right click on it and choose ‘Run as administrator’.
3.Type three different commands and press ‘Enter’ key after each command.
-CD /d “%LOCALAPPDATA%\Packages\Microsoft.Windows.Cortana_cw5n1h2txyewy”
-Taskkill /F /IM SearchUI.exe
-RD /S /Q Settings
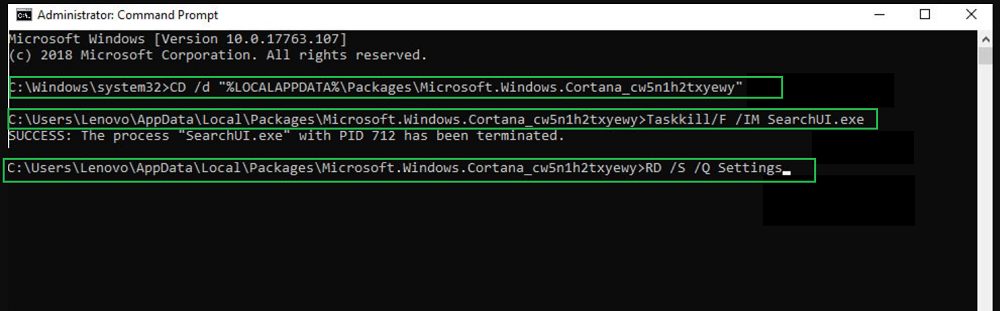
4.After the successful execution of the command, the damaged and corrupted will get deleted and recreate the new one in the system.
Method 7 – Do a SFC Scan:
SFC scanning is done to replace any incorrect versions of OS programs with correct and accurate Microsoft versions. To do so:
1.Type ‘cmd’ in the Windows search box on the taskbar.
2.Opena ‘Command Prompt’ desktop app.
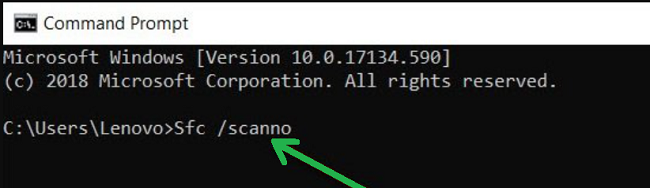
3.Type ‘Sfc /scannow’ .
4.Press the ‘Enter’ key.
5.The process will take some time.
6.Restart the PC.